Just Added To Cart

Old Wooden Fence on Green Meadow - Removable Wall Mural | Self-Adhesive Large Wallpaper - 100x144 inches
Size:
Quantity:
Price: $
You May Also Like
Select Sizes
$100.79
66"x96"
$171.59
100"x144"
Item Added Successfully
VIEW CART
Similar Artworks
Browse More
Explore More Collections
See More
See All Best Sellers
See All Collection
See All Best Sellers
See All Collection
Old Wooden Fence on Green Meadow - Removable Wall Mural | Self-Adhesive Large Wallpaper - 100x144 inches
- Make sure this fits by entering your model number.
- The wall mural is cut into 6 pieces for easy installation, each in 100"x24",total size is 100"x144" (Height x Width)
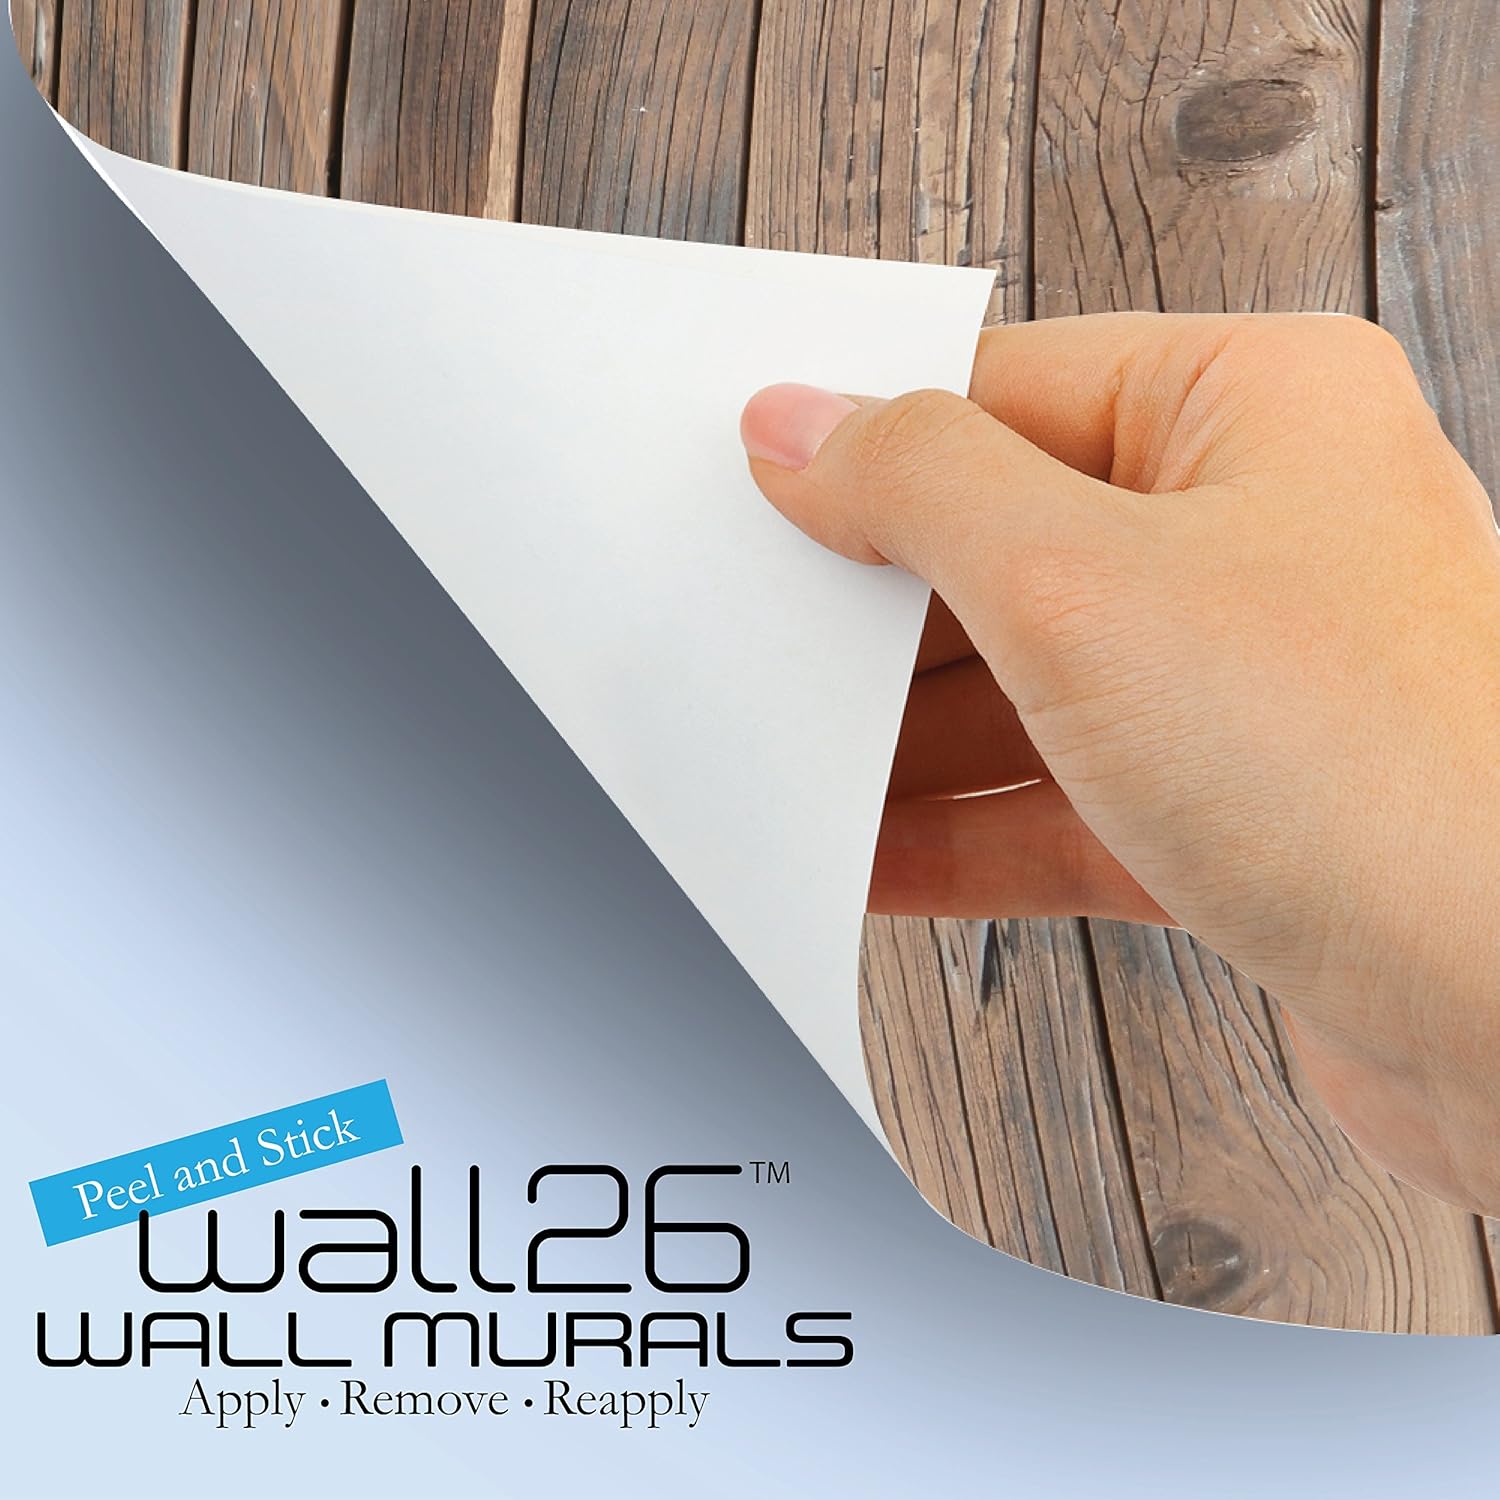
- Very easy to apply, remove or reposition - Just PEEL & STICK!
- Unique and one of a kind exclusive designs by Wall26, for installation on flat dry surfaces indoor/outdoor walls doors and even windows
- Won't leave a mark when repositioned like other cheap stickers on the market, no residue left behind
Product made in USA with fast shipping. 100% satisfaction guarantee.
Browse More Wall Art











There are a lot of reviews saying this is difficult to hang and, having hung another by myself, I would say it is challenging.
But the quality is great and I have found that you can just hang it in sections, with a few nails, with a 2 inch between panes and it looks great and is subsequently easy to move.
(ps - I hung only 3 panels because I use the fourth in a different area)
Please note: This is respectfully a peel and stick, removable surface mural, that is, once on, it can be removed without residue on the wall, however this indicates that the 'sticky stuff' used is not for permanent applications. However, if it sticks to itself it a major pain to release it without distorting or bubbling the image. I, was foolish enough to remove all the backing at once, and thought is was just a 'tacky' type of glue being used, oh my, what a stupid thing to do, it stuck to itself so hard, that it took me an hour to unstick it, but, in the process, I totally destroyed the flatness of it's design, it was pulled, stretched and bubbled so much, that I was not able to use it as a wall application, but, I used it for the door instead, since, the wall was not large enough for the entire picture to be seen. Be extremely careful, this may not be a one person job, as I foolishly found out.
However a small tip: Line it up straight on the wall starting at the middle, TAPE the top to the wall, so it does not move from side to side, and begin at the bottom, and release about a foot at a time, take a wide plastic 'putty knife' or something similar, and begin in the middle swiping the bubbles to the edges, after that, use a soft cloth and rub it so it sticks to the wall, and roll the underside up another foot or so, and repeat the process. This seems to be taking a long time, but, actually, it went so much fast, since, the amount of time spent of expelling the air underneath takes a very short time, about 30 seconds, per foot. Remember, carefully, diligently, and precisely, in other words, take you time.
Second note: Precaution, do not use the top or bottom edge to guide you mural, the pattern doesn't seem to be consistent from one roll to the next, so, one has to 'not cut' before lining it up, sometimes, the next mural will be higher or lower than the previous one's printing. So, line it up first, Tape the top so it doesn't move from side to side, and that trim the bottom first, and razor cut the top with a yard stick for a clean edge, using a razor knife, and then, after all rolls are installed, rub the each one with a soft cloth to ensure it's contact to the wall, then, by all means, secure the top portion with molding or even push pins to keep it from peeling down, this important, since, I've come home with half the mural down the wall, which, it stuck to itself, and cause some damage reinstalling it.
Overall: This product is quite beautiful, when it is on the wall, the colors are excellent and looks almost real, and adds much to a room, especially as small room, which seems to open it up so much more.